Wood Fence Installation Process: From Planning to Completion
A wood fence is a timeless addition to any property, offering privacy, security, and natural beauty. While the finished fence may look simple, installing one properly involves several important steps that ensure durability, functionality, and long-term value. Whether you’re considering a DIY project or hiring professionals, understanding the wood fence installation process can help you make informed decisions and set realistic expectations.
Below is a step-by-step guide to the complete wood fence installation process—from initial planning to final inspection.
1. Planning and Preparation
Every successful wood fence installation begins with careful planning. Skipping this step can lead to costly mistakes, code violations, or disputes with neighbors.
Key planning considerations include:
- Purpose of the fence: Privacy, security, pet containment, decorative appeal, or property boundaries.
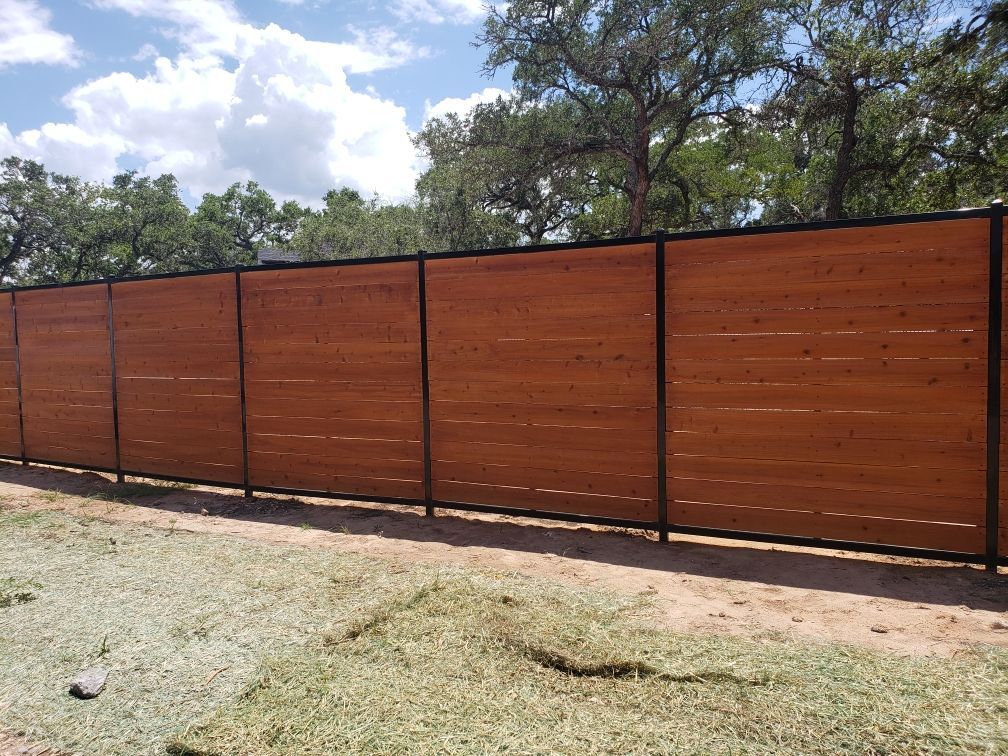
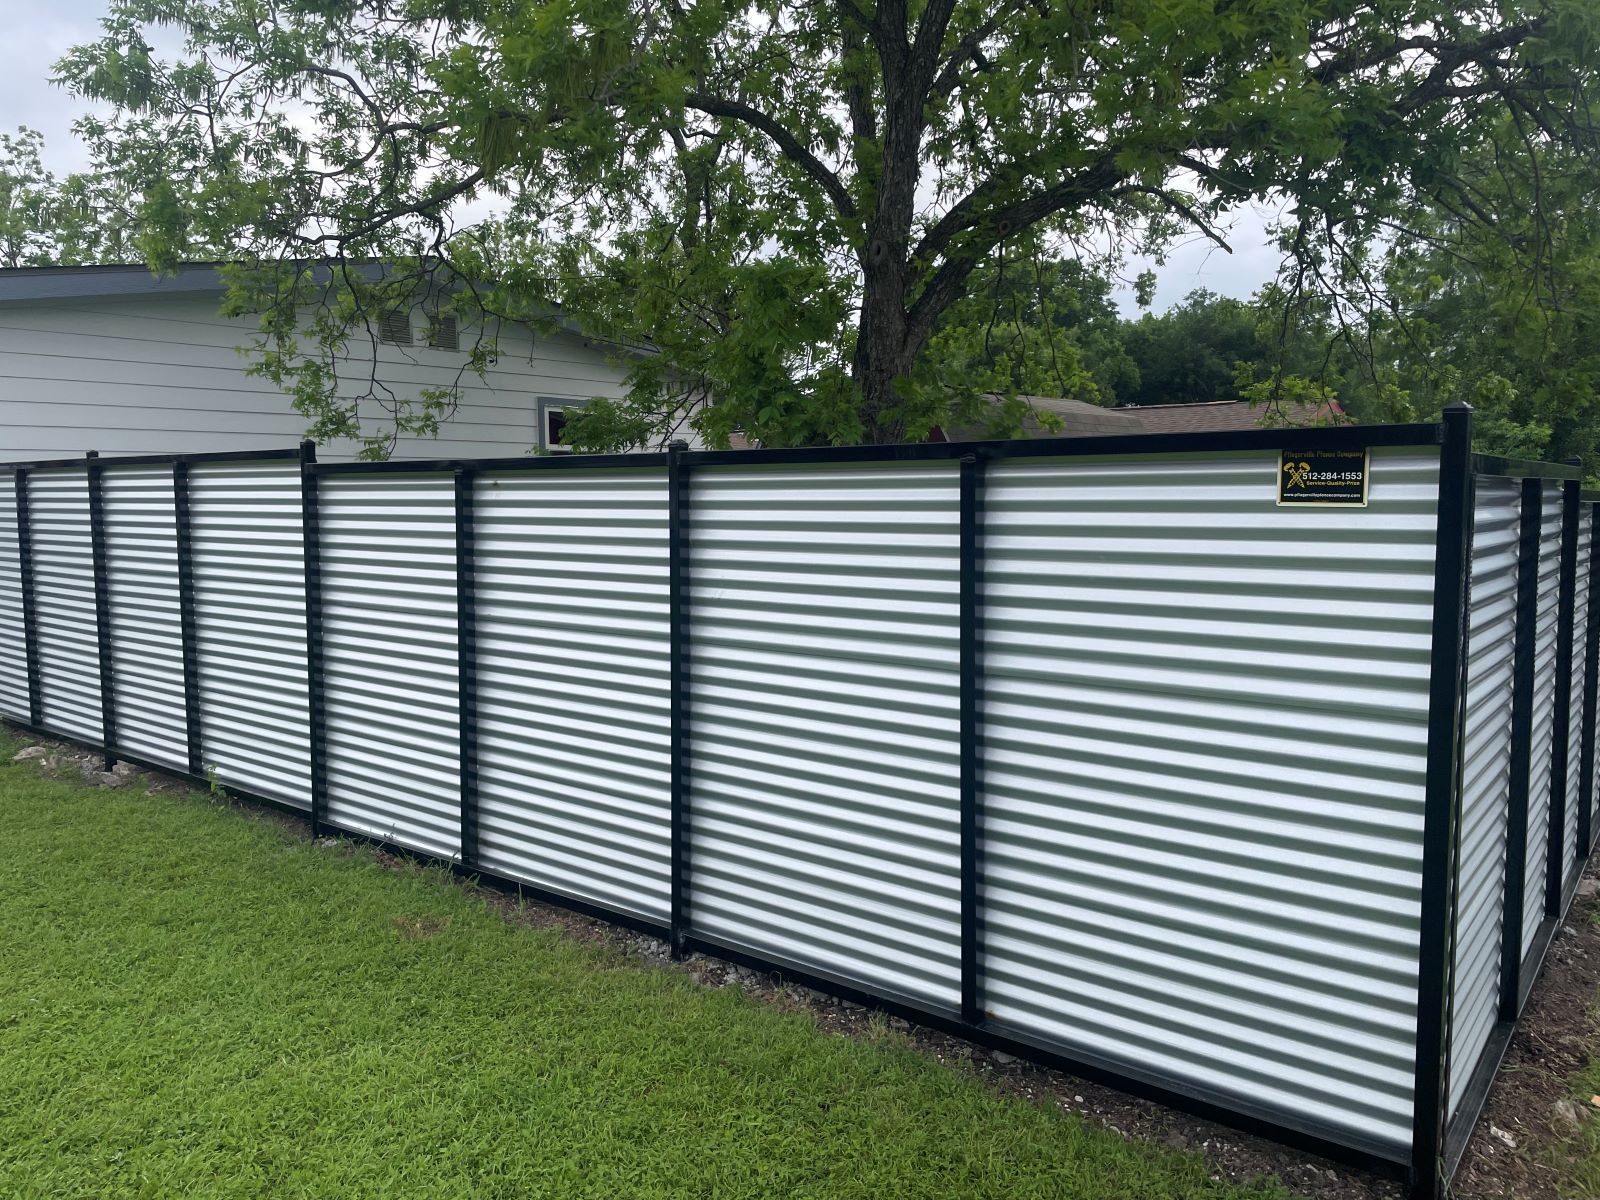
- Fence style: Common options include privacy fences, picket fences, split rail fences, and shadowbox designs.
- Fence height: Local regulations often limit fence height, especially in front yards.
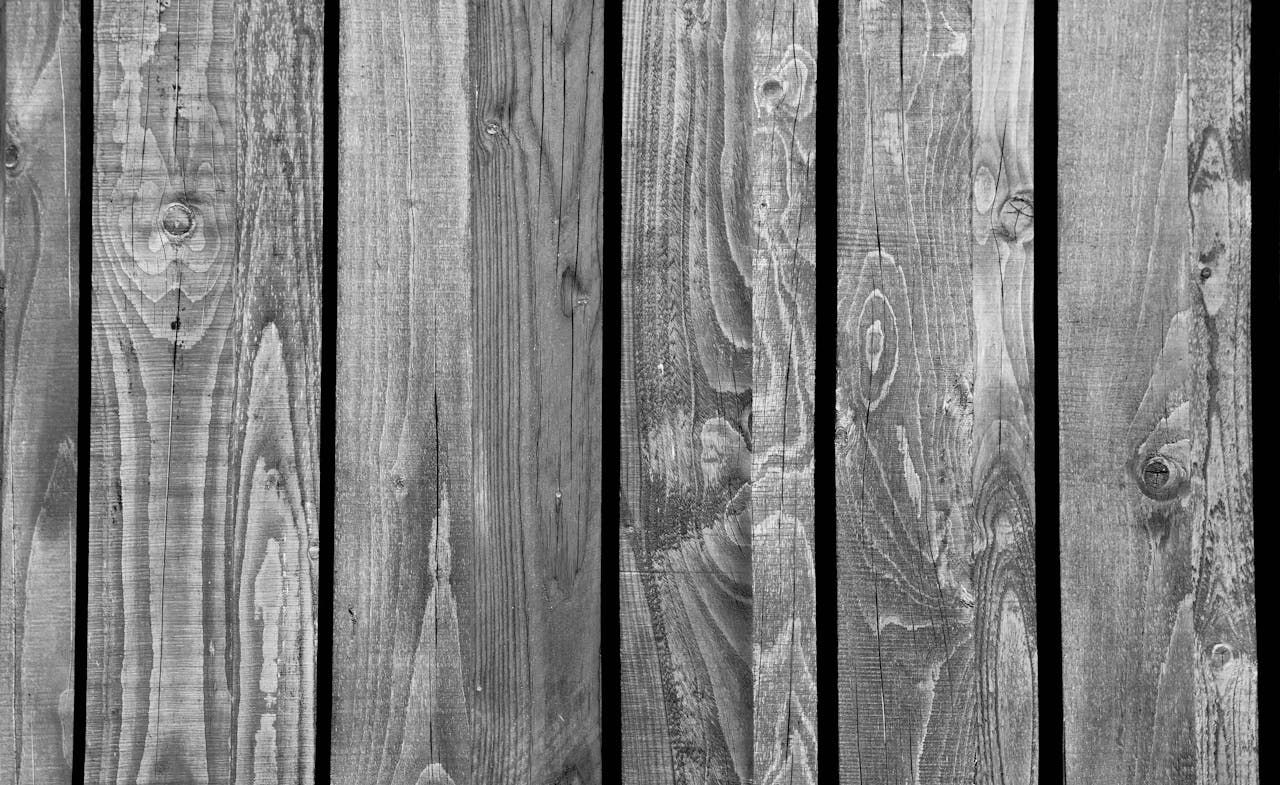
- Material selection: Popular choices include pressure-treated pine, cedar, and redwood, each with different costs and lifespans.
- Budget: Account for materials, labor, permits, and potential maintenance.
During this stage, it’s also important to review local zoning laws and HOA guidelines to ensure compliance before moving forward.
2. Property Line Verification and Permits
Before any digging begins, property boundaries must be clearly identified. Installing a fence even a few inches over a property line can lead to legal issues.
Steps in this phase:
- Review your property survey or hire a surveyor if boundaries are unclear.
- Confirm fence placement requirements, such as setbacks from sidewalks or roads.
- Apply for any required permits through your local municipality.
3. Marking the Fence Line
Once approvals are in place, the fence layout is marked on the ground. This step ensures straight lines and accurate post placement.
What happens here:
- Stakes and string lines outline the fence path.
- Gate locations are identified and measured carefully.
- Post spacing is marked, typically 6–8 feet apart depending on fence design.
Accurate marking is critical, as errors at this stage can affect the entire installation.
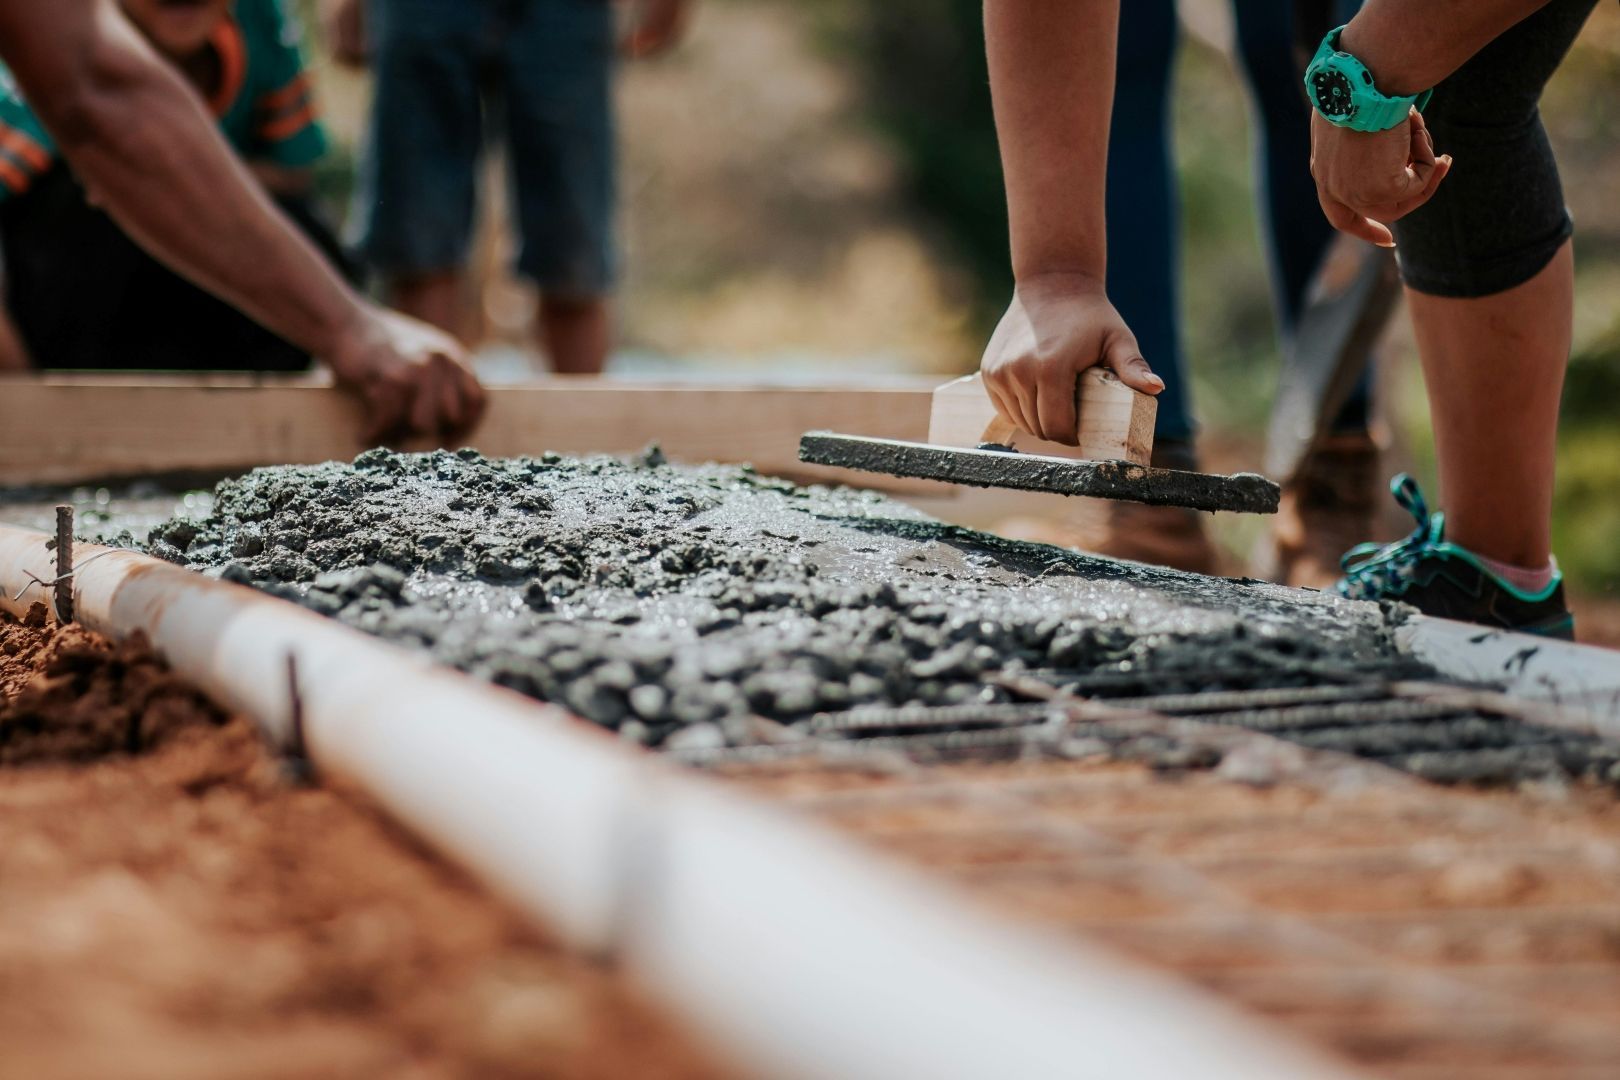
4. Post Hole Digging
Fence posts are the backbone of any wood fence. Properly installed posts provide stability and resistance against wind, soil movement, and moisture.
Important considerations:
- Holes are usually dug 2–3 feet deep, depending on fence height and local frost lines.
- Holes must be wide enough to allow for concrete or gravel backfill.
- Utility lines are located beforehand to avoid damage or safety hazards.
In colder climates, posts must be set below the frost line to prevent shifting during freeze-thaw cycles.
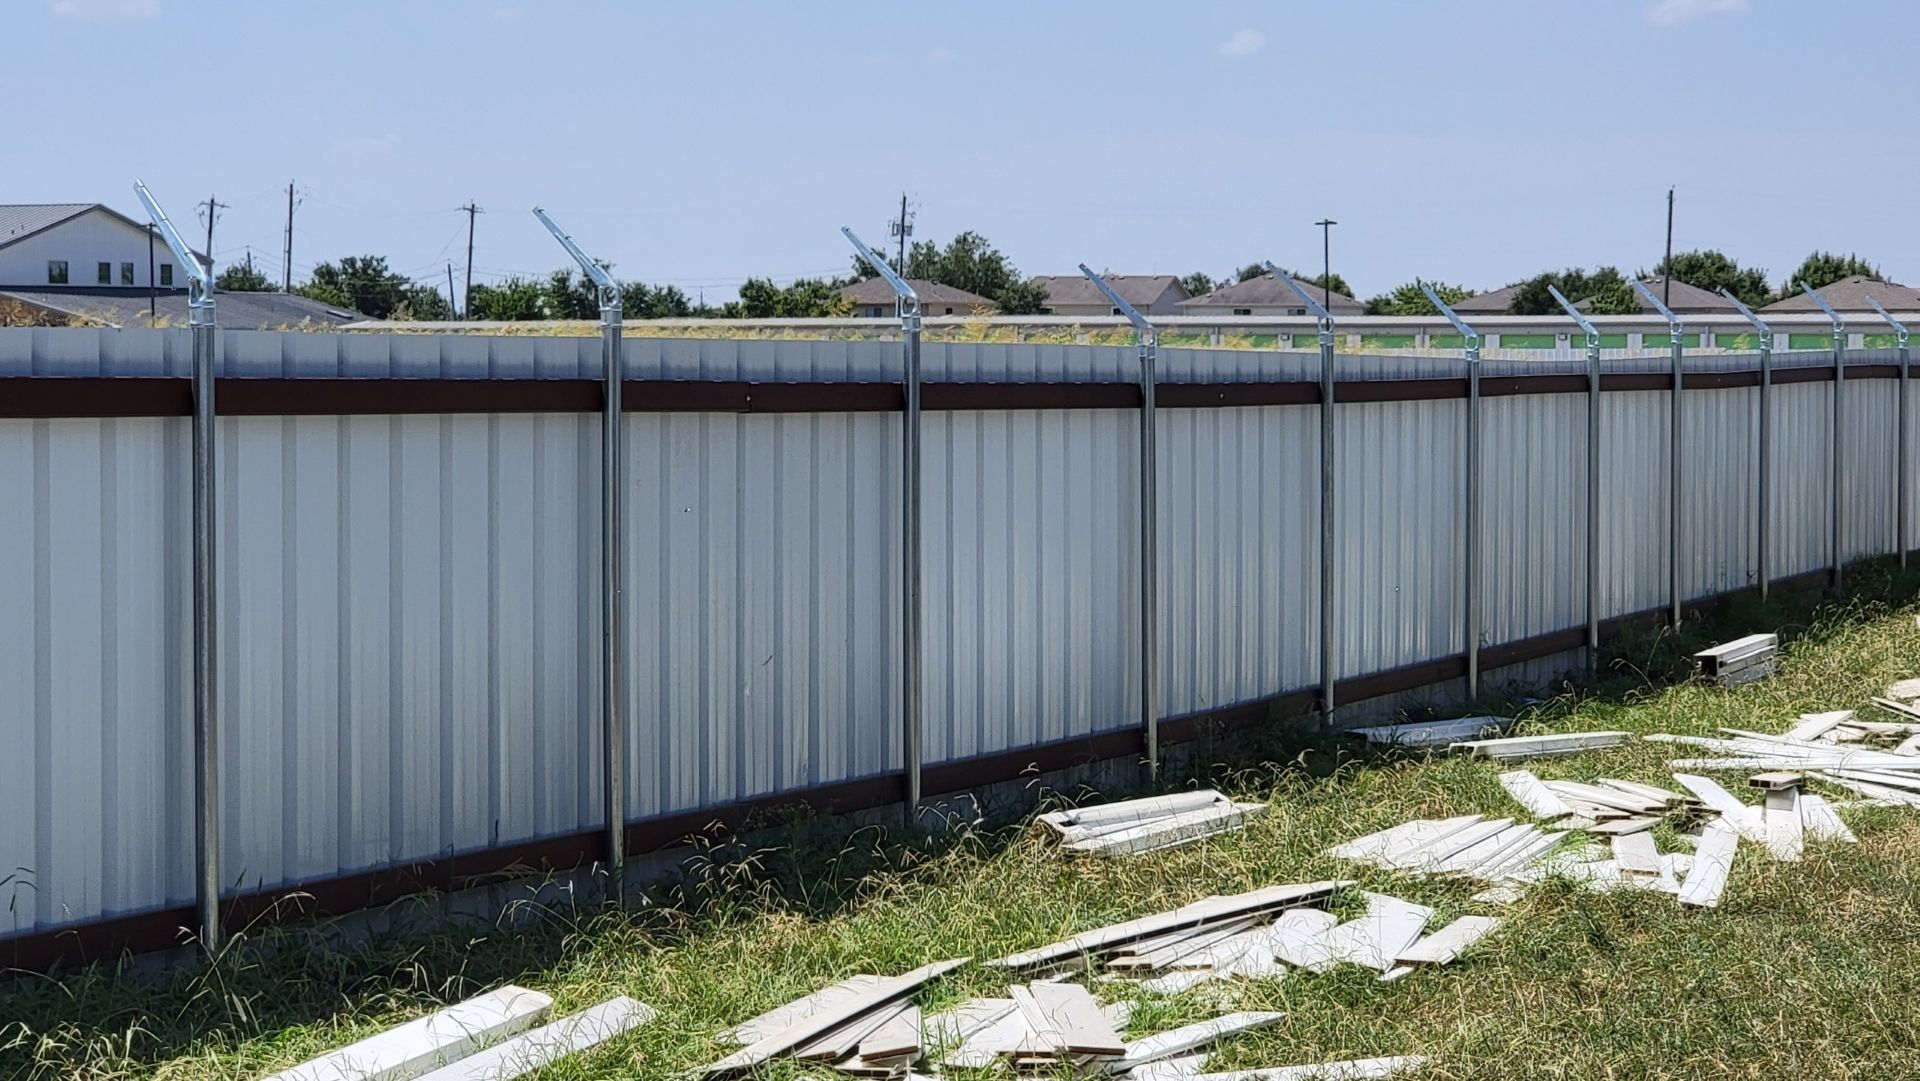
5. Setting the Fence Posts
After the holes are prepared, fence posts are set and secured.
This process typically involves:
- Placing posts in holes and ensuring they are level and plumb.
- Filling holes with concrete or compacted gravel for stability.
- Allowing sufficient curing time for concrete before attaching panels or rails.
Taking time to set posts correctly is essential, as misaligned posts can cause the entire fence to lean or sag over time.
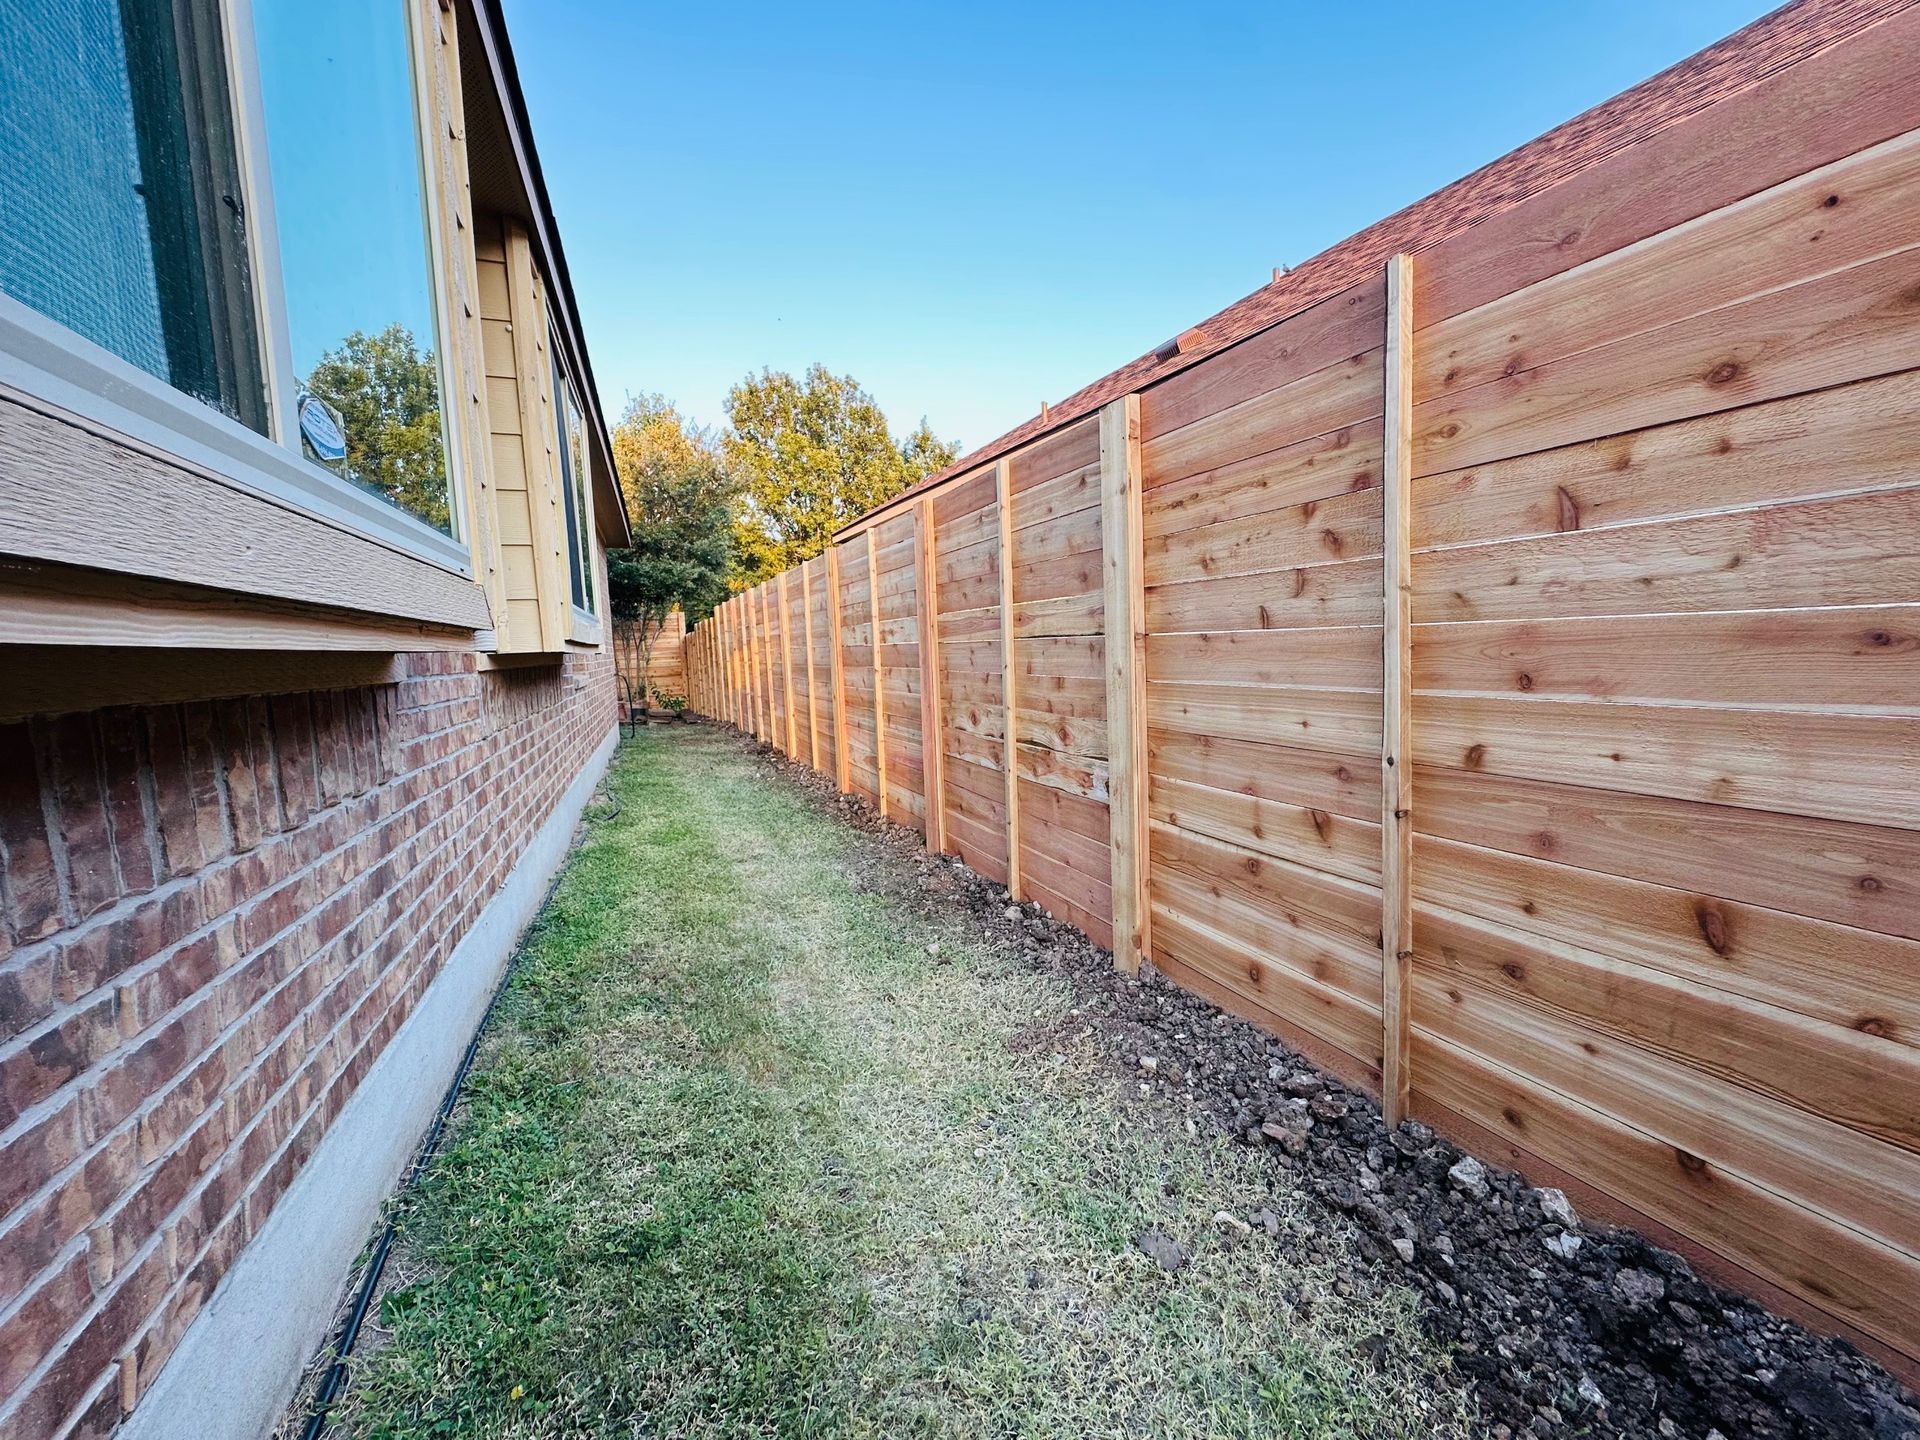
6. Installing Rails and Panels
Once the posts are secure, the framework of the fence begins to take shape.
Installation steps include:
- Attaching horizontal rails between posts.
- Installing pre-built panels or individual pickets.
- Ensuring consistent spacing and alignment for a clean, professional look.
For privacy fences, pickets may be installed tightly together or with small gaps, depending on the desired appearance and airflow.
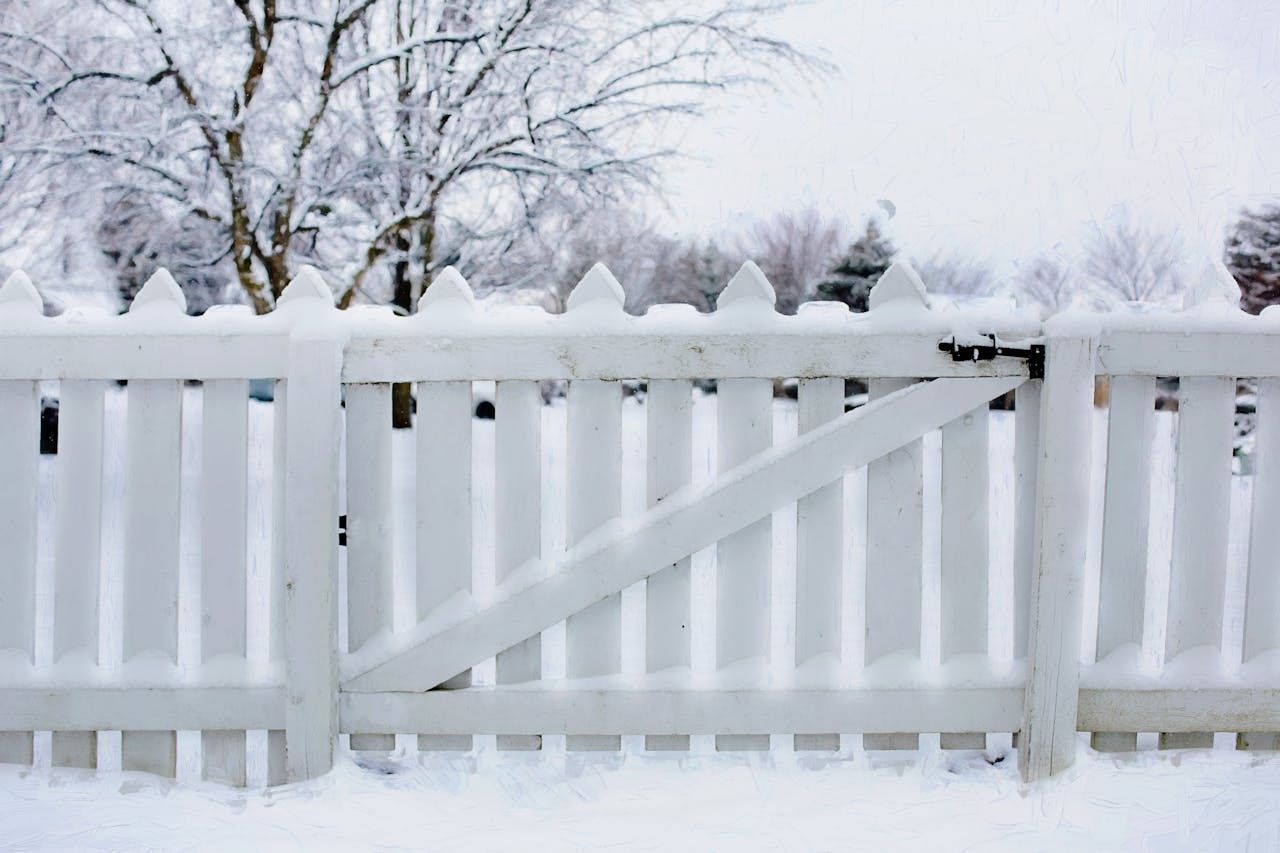
7. Gate Installation
Gates require extra attention because they experience frequent movement and weight stress.
Gate installation involves:
- Reinforcing gate posts for added strength.
- Installing hinges, latches, and support hardware.
- Adjusting the gate to swing smoothly and latch securely.
Proper gate installation prevents sagging and ensures ease of use for years to come.
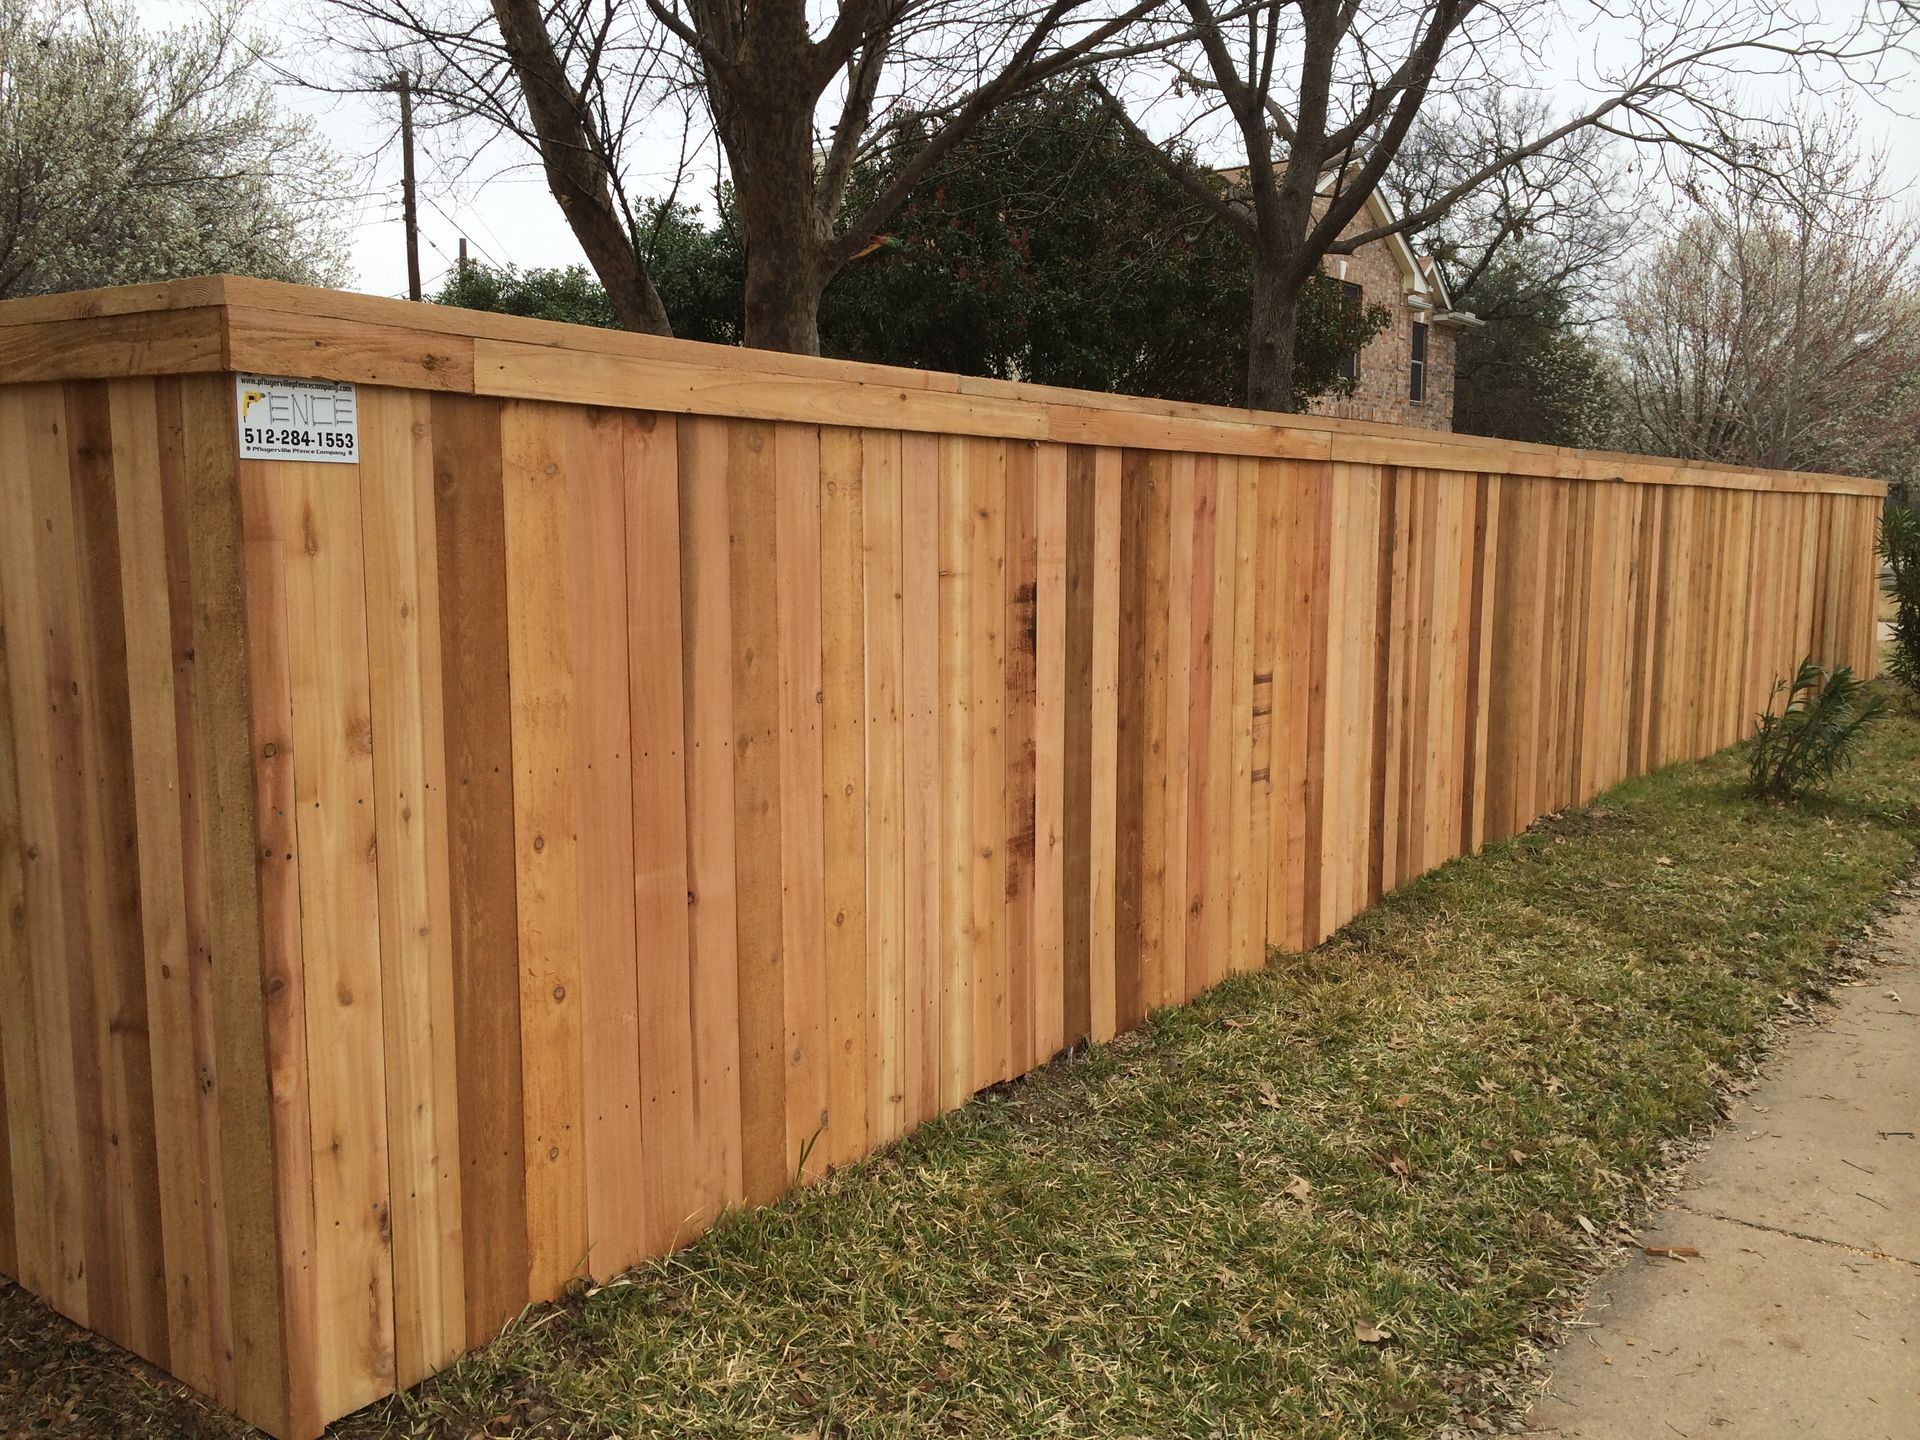
8. Finishing Touches and Cleanup
After the fence structure is complete, finishing details enhance both appearance and longevity.
Final steps may include:
- Trimming post tops for uniform height.
- Adding decorative caps or post finials.
- Sanding rough edges to prevent splinters.
- Cleaning up debris and excess materials from the site.
At this stage, the fence should look complete, sturdy, and visually appealing.
9. Staining, Sealing, or Painting (Optional but Recommended)
While some homeowners prefer the natural aging of wood, applying a protective finish can significantly extend the life of a wood fence.
Benefits of finishing include:
- Protection against moisture, rot, and insect damage.
- Reduced warping and cracking.
- Enhanced color and overall appearance.
It’s generally recommended to wait several weeks after installation before staining or sealing, allowing the wood to dry properly.
10. Final Inspection and Maintenance Tips
A final walkthrough ensures the fence meets quality standards and project expectations.
During inspection:
- Check that posts are secure and level.
- Ensure gates operate smoothly.
- Confirm fence lines are straight and consistent.
Ongoing maintenance—such as periodic cleaning, sealing, and minor repairs—will help keep your wood fence looking great and functioning well for many years.
Conclusion
Installing a wood fence is a detailed process that requires careful planning, precision, and proper materials. From the initial design and permits to post setting and finishing touches, each step plays a vital role in creating a durable and attractive fence. Whether you tackle the project yourself or hire professionals, understanding the installation process helps ensure a successful outcome and long-lasting results.
If you’re ready to enhance your property with a wood fence, taking the time to follow these steps—or working with an experienced installer—will make all the difference.